
What to Expect During a Painting Project, From Walkthrough to Final Touch-Ups
· By Lucas Souza
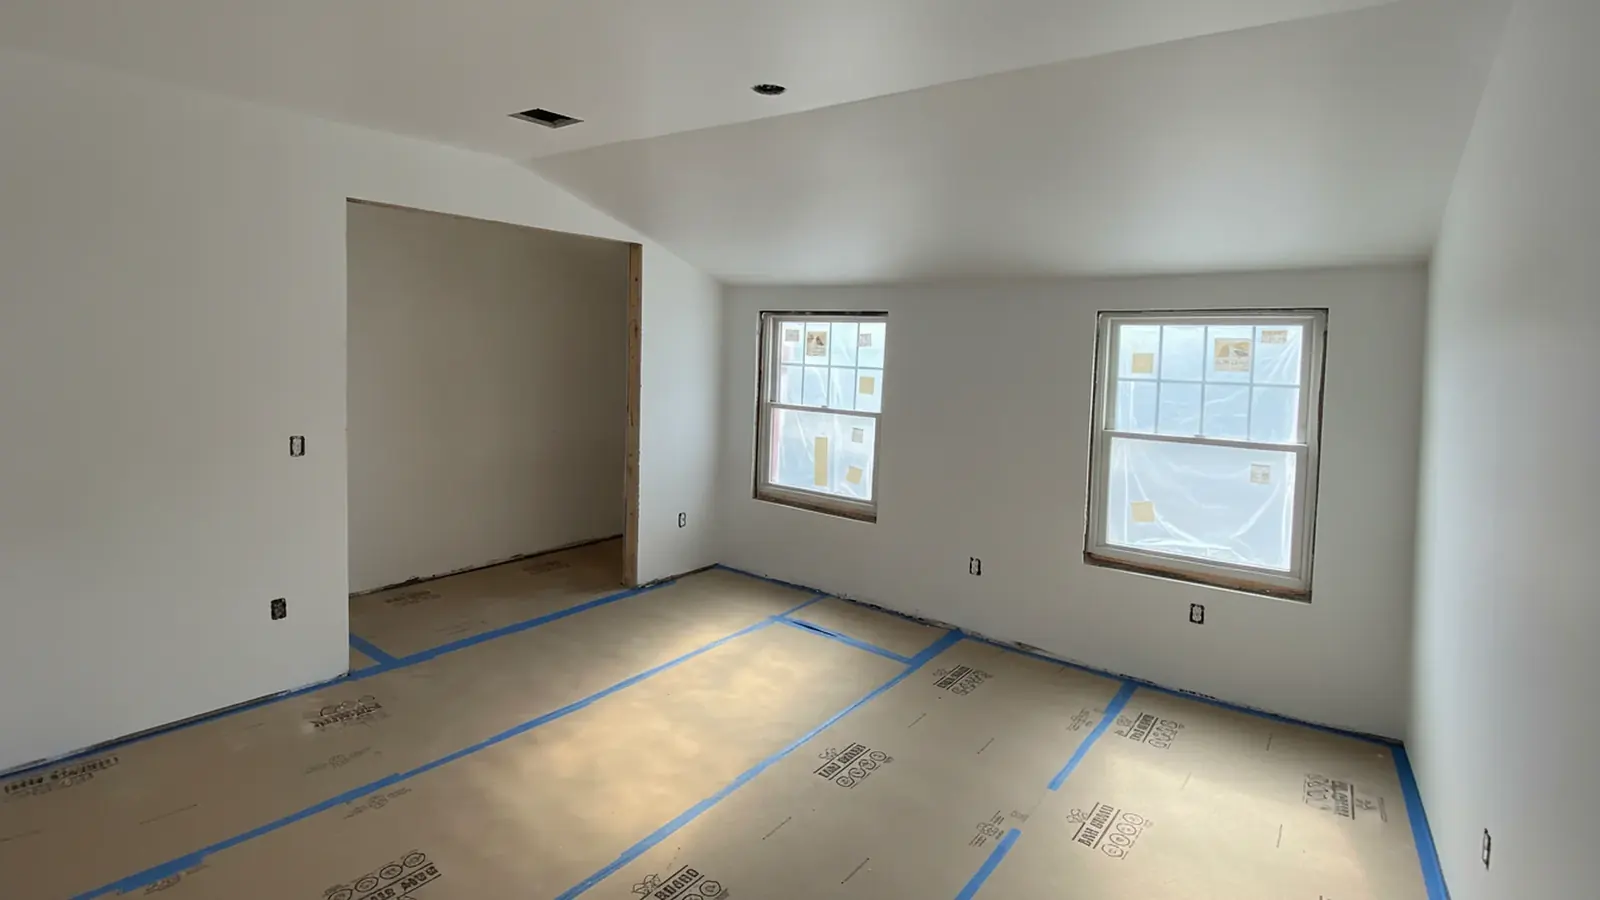
Having painters in your home is easier when you know what each day will look like. A well-run painting project follows a predictable order: a walkthrough, a written estimate, scheduling, protection, prep, primer, finish coats, daily cleanup and a final walkthrough. Each step has a purpose, and skipping one usually shows up later as peeling, uneven color or paint where it should not be.
Below is the process we follow at L&D Painting on interior and exterior jobs around Greater Boston, along with what you can do to make each stage go smoothly.
Step 1: The walkthrough and the estimate
Every project starts with someone walking the space with you. For interiors, that means looking at wall condition, ceiling height, trim, doors and any cracks or water stains. For exteriors, it means checking siding, trim, windows, porches and signs of rot or moisture. This is also the time to talk about colors, sheen and which rooms or sides of the house matter most to you.
After the visit, you should receive a written estimate that lists the surfaces, the number of coats, the prep included and anything excluded. Our estimates are free with no visit fee, and we reply to messages within about an hour during business hours, so questions about the quote do not sit for days.
Step 2: Scheduling and getting the house ready
Once the estimate is approved, you agree on a start date and an expected duration. Interior work can happen almost any time of year. Exterior work in New England depends on temperature and rain, so the schedule includes a plan for weather days.
Before the crew arrives, it helps to clear small items, wall art, and anything fragile from the rooms being painted. Large furniture is usually moved to the center of the room and covered. For exteriors, move grills, planters and patio furniture away from the walls, and let the crew know about pets, parking and any areas they should not walk through.
Step 3: Protection and prep
The first real day of work often looks like very little painting. Floors are covered, furniture is wrapped in plastic, and outlets, hardware, counters and fixtures are masked. On kitchen and cabinet projects, countertops and appliances are sealed off so spray or drips cannot reach them. Outside, plants, walkways and windows are protected.
Then comes prep, which is the part that decides how long the paint lasts. Interior prep includes filling nail holes and cracks, sanding patches smooth, caulking gaps at trim and cleaning greasy or dusty surfaces. Exterior prep includes washing, scraping loose paint, sanding edges, replacing or flagging rotted wood and caulking joints. A homeowner who sees two days of prep on a big exterior should take it as a good sign.
Step 4: Primer and finish coats
Primer goes on bare wood, new patches, stains and surfaces where the color is changing dramatically. It seals the surface, blocks stains from bleeding through and helps the topcoat bond. Not every wall needs a full coat of primer, but every spot that has been repaired does.
Most projects then get two finish coats. The first coat builds color and coverage, and the second evens out the sheen and hides roller marks and lap lines. Trim, doors and cabinets are usually done in their own order, with drying time respected between coats. Rushing a second coat onto paint that is not dry enough is one of the most common causes of a finish that looks blotchy up close.
Color and sheen decisions are best settled before this stage. Testing two or three samples on the actual walls, and looking at them in morning and evening light, avoids a mid-project change of mind. Flat and matte finishes hide wall imperfections well and suit ceilings and bedrooms, while eggshell and satin clean more easily in hallways, kitchens and kids' rooms. Semi-gloss is common on trim and doors because it stands up to hands and scuffs. In older Greater Boston homes with plaster walls, a lower sheen often looks better because it does not highlight every wave in the surface. If you are unsure, ask the painter to brush out a sample area before the full coat goes on.
Step 5: Daily cleanup and the final walkthrough
At the end of each day, a good crew leaves the space usable: tools gathered, walkways clear, open paint closed and debris bagged. You should be able to move through your home in the evening without stepping over drop cloths in every doorway.
When the painting is done, the protection comes off and you walk the project together. Bring good light and look closely at edges, corners and trim. Anything that is not right goes on a fix list, and those items get corrected before the job is considered finished. Our rule is simple: if something is not right, we come back and fix it at no cost.
If you are planning a project and want to see how this would work in your own home, request a free estimate and we will walk the space with you and put the full plan in writing.
Frequently asked questions
- Should I move furniture before the painters arrive?
- Clear small items, decor and anything fragile. Most crews move large furniture to the center of the room and cover it, but confirm what is included in your estimate.
- How long does a typical interior painting project take?
- It depends on the number of rooms, ceiling height and how much repair is needed. A single room is often one to two days, while a full interior can take a week or more. Your written estimate should give an expected duration.
- Do I need to leave the house while it is being painted?
- Usually not. Most homeowners stay home and use the rooms that are not being worked on. Good ventilation and daily cleanup keep the rest of the house livable.
- Why does prep take so long?
- Paint only lasts as long as the surface under it. Cleaning, scraping, patching, sanding and caulking are what keep paint from peeling and cracking early, so they deserve the time.
- What happens if I notice a problem after the job?
- Point it out during the final walkthrough so it goes on the fix list. If something shows up later, contact the company. At L&D Painting, if something is not right, we come back and fix it at no cost.
Related services
Serving
Found this helpful? Make us a preferred source on Google.
Ready for an exact price?
Get a free, no-pressure in-home estimate. Real numbers for your home, not a phone guess.